Smart thermostats can absolutely save energy and boost comfort, but only when they are installed and set up correctly. When homeowners make a few common mistakes, these devices never reach their full potential and can even create comfort and connectivity headaches instead of solving them.
Key takeaways
- Skipping compatibility checks and wiring details is one of the fastest ways to end up with a smart thermostat that never works right.
- Poor placement, rushed setup, and weak Wi Fi can make even a good smart thermostat perform badly.
- Taking time to program schedules, enable energy saving features, and test the system after installation is essential to get full value.
- When in doubt, having a professional handle installation and troubleshooting protects your HVAC system and your investment.
Mistake 1: Skipping the compatibility check
One of the biggest smart thermostat mistakes is buying a model that does not actually match your HVAC system. Not all smart thermostats work with every furnace, heat pump, or older control setup, and many require a common wire for power.
How to fix it
- Look up your HVAC brand and model number and compare it to the thermostat’s compatibility guide before you buy.
- Use the manufacturer’s online compatibility tools when available, especially if you have a heat pump, multi stage system, or older equipment.
- If you are unsure, ask a professional from a company like At Your Service Plumbing + Heating + Air to confirm compatibility and recommend models that fit your system.
Mistake 2: Poor thermostat placement
Even a perfectly wired smart thermostat can struggle if it is installed in the wrong spot. Locations near windows, exterior doors, supply vents, direct sunlight, or heat generating appliances can trick the thermostat into thinking the house is hotter or colder than it really is.
How to fix it
- Aim for a central interior wall where air mixes well and temperatures are typical for the rest of the home.
- Avoid drafts, sunbeams, and hot appliances such as ovens or TV equipment, which can cause false readings and short cycling.
- Mount at about eye level so it is easy to access and reads room air rather than ceiling or floor temperatures.
If your current thermostat is clearly in a bad spot, a professional can relocate it and correct any wiring so your smart device gets accurate readings.
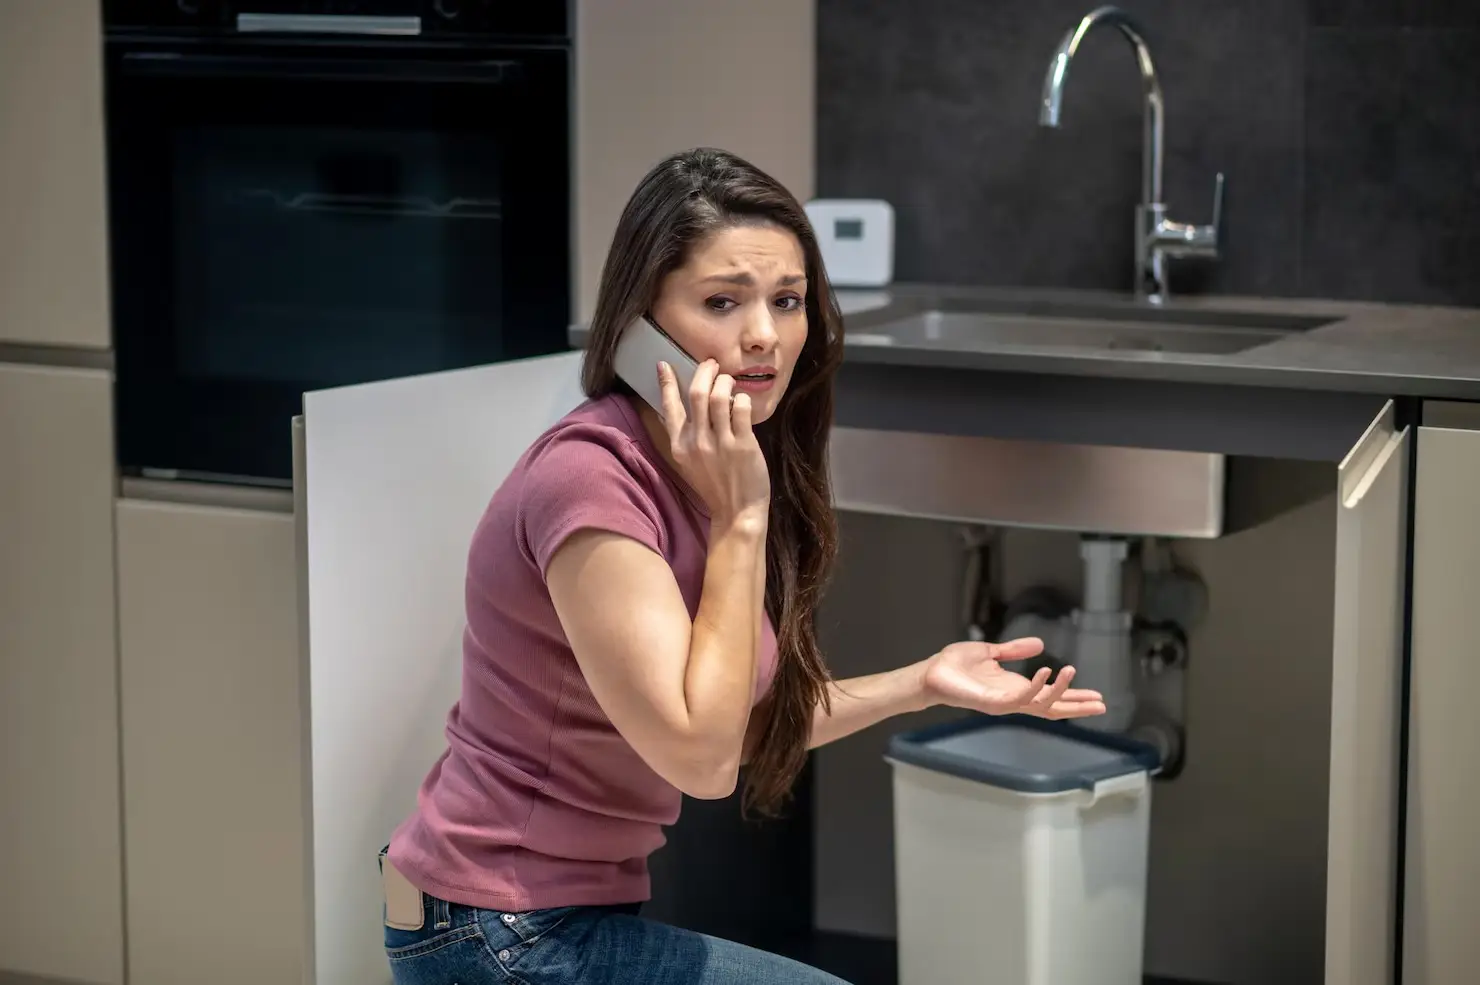
Mistake 3: Wiring errors and missing common wires
DIY installation often goes wrong at the wiring stage. Swapping just one wire to the wrong terminal or ignoring the need for a C wire can keep the thermostat from powering up, cause it to reboot frequently, or prevent it from communicating with your HVAC system correctly.
How to fix it
- Before removing the old thermostat, label each wire clearly and take a close photo of the connections.
- Follow the new thermostat’s wiring diagram exactly rather than relying on wire color, since colors are not always standardized.
- If your system does not have a C wire and your thermostat requires one, discuss running a new cable or using a compatible adapter with a professional.
When wiring issues crop up repeatedly, it is safer to have a licensed technician complete the installation and test both heating and cooling afterward.
Mistake 4: Rushing setup and ignoring the manual
Many homeowners get the smart thermostat physically on the wall, then tap through the setup screens as quickly as possible. Skipping equipment configuration, system tests, and initial settings keeps your device in generic mode and can waste energy or reduce comfort.
How to fix it
- Read through the quick start guide and key parts of the manual before you begin mounting or wiring anything.
- During setup, answer questions about your equipment type, fuel source, and number of stages carefully so the thermostat controls your system correctly.
- Run the built in test mode for heating and cooling once setup is complete to confirm that everything responds as expected.
Spending a few extra minutes on careful setup up front prevents a lot of frustration and callbacks later.
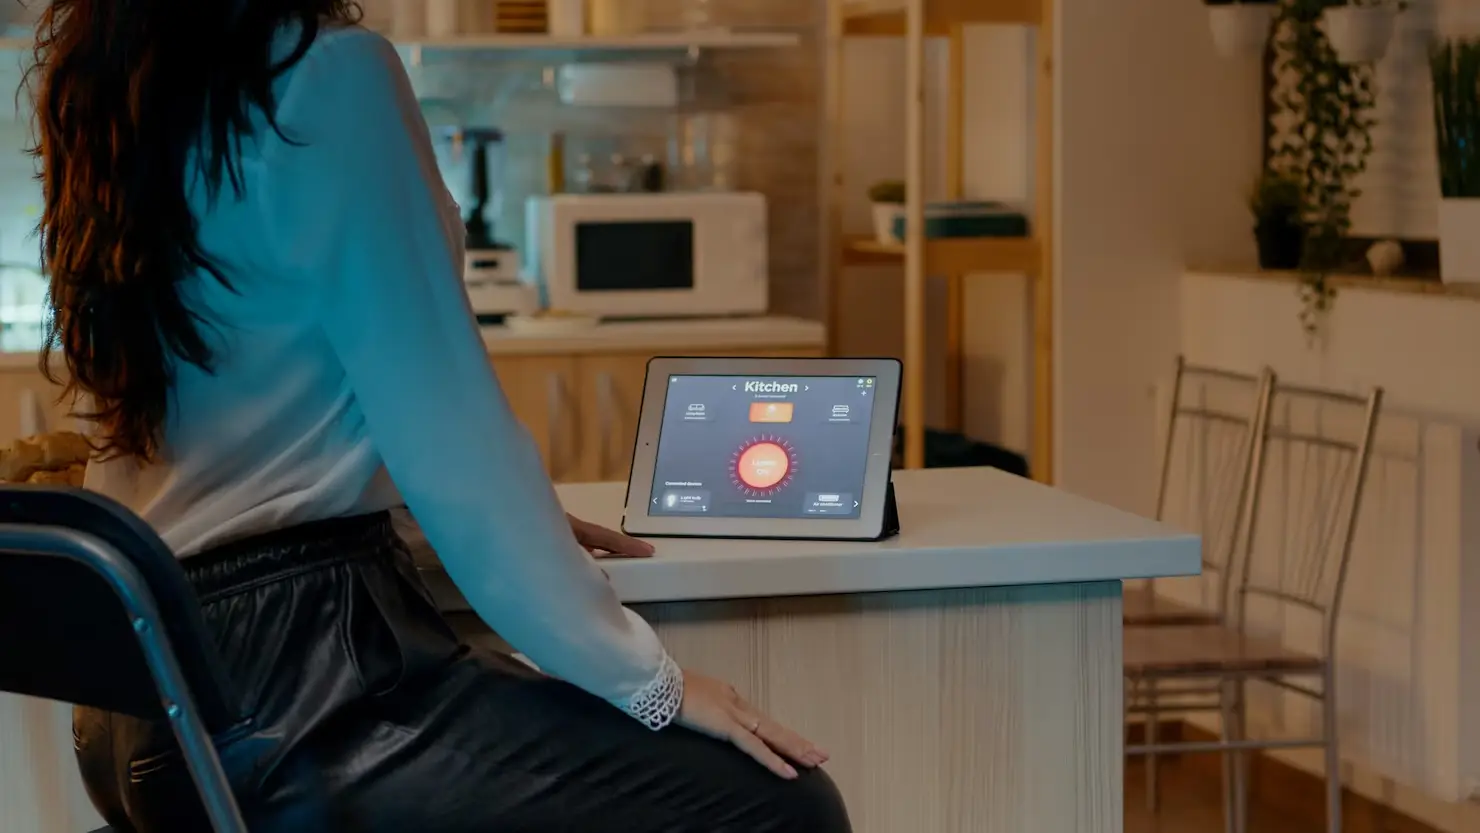
Mistake 5: Not taking advantage of schedules and smart features
A smart thermostat that is left on one fixed temperature all day is basically an expensive manual thermostat. Ignoring schedules, occupancy features, and energy saving modes leaves a lot of comfort and savings on the table.
How to fix it
- Create a basic weekday and weekend schedule that matches when you wake up, leave, return, and sleep, then fine tune it over time.
- Enable energy saving features such as eco modes, setback recovery, or learning functions so the thermostat can optimize around your routine.
- Use location based features (geofencing) if supported, so the thermostat can automatically adjust when everyone leaves or is on the way home.
Remind homeowners that these features are what actually deliver lower bills and better comfort, and they can always adjust them if something does not feel right.
Mistake 6: Weak Wi Fi, app issues, and skipped updates
Smart thermostats rely heavily on a stable Wi Fi connection and up to date firmware to deliver remote control, energy reports, and smart home integrations. Poor connectivity or outdated software can cause delayed responses, offline devices, or lost schedules.
How to fix it
- Make sure your router provides a strong signal where the thermostat is installed; consider moving the router or using a range extender if the signal is weak.
- Keep the thermostat’s firmware and the mobile app updated so you benefit from bug fixes and new features.
- If the thermostat frequently drops offline, double check network settings, passwords, and any restrictions like guest networks or firewalls.
For homeowners with complex networks or mesh systems, a technician familiar with connected HVAC controls can help stabilize the connection and confirm settings are correct.
Mistake 7: Expecting a smart thermostat to fix system problems
Sometimes a smart thermostat is installed on an HVAC system that already has underlying issues, such as poor airflow, incorrect sizing, low refrigerant, or failing components. When comfort does not improve, the thermostat gets blamed even though the equipment is the root cause.
How to fix it
- Test your heating and cooling system before and after thermostat installation to verify that it starts, stops, and reaches setpoints properly.
- If rooms are still uneven, the system short cycles, or the equipment struggles in extreme weather, schedule a full HVAC inspection.
- Use the thermostat’s runtime and history data as clues, but rely on a professional to diagnose mechanical or airflow issues.
At Your Service Plumbing + Heating + Air can pair smart thermostat upgrades with system tune ups or duct improvements so the whole system works together, not just the new control.
Mistake 8: Going full DIY when you are not comfortable with electrical work
Smart thermostat marketing often makes installation look like a five minute project, but many homes have multi stage systems, accessories, or older wiring that complicates things. Homeowners who are not comfortable with low voltage electrical work can damage components or create hidden problems.
How to fix it
- Be honest about your comfort level: if reading wiring diagrams and identifying terminals feels overwhelming, it is wise to bring in a pro.
- Let a professional handle more complex scenarios such as heat pumps, dual fuel systems, zoning, or adding new wires.
- Ask your installer to walk you through basic app features, schedules, and troubleshooting so you feel confident using your new device.
A professional install does not just avoid mistakes, it also helps you get full value from your smart thermostat starting on day one.
If you would like, I can turn this into a long form, homeowner friendly blog draft for At Your Service Plumbing + Heating + Air with SEO and AI engine optimization formatting similar to your other posts.